Hi Everyone!
It feels like it has been so long since my last post.
I actually had a little holiday mid April and spent an amazing week in Las Vegas with my favourite people in the world.
I had the most amazing time and I am so glad I got a little break because the second we landed back in the U.K. the cupcake chaos began and I haven't stopped since then.
Never the less I have finally found the time to put together a little cupcake catch up, I have lots of new cupcakes and decorations to show you.
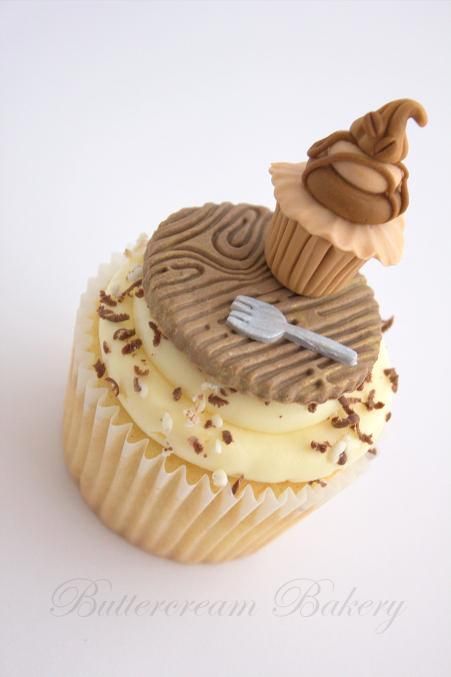
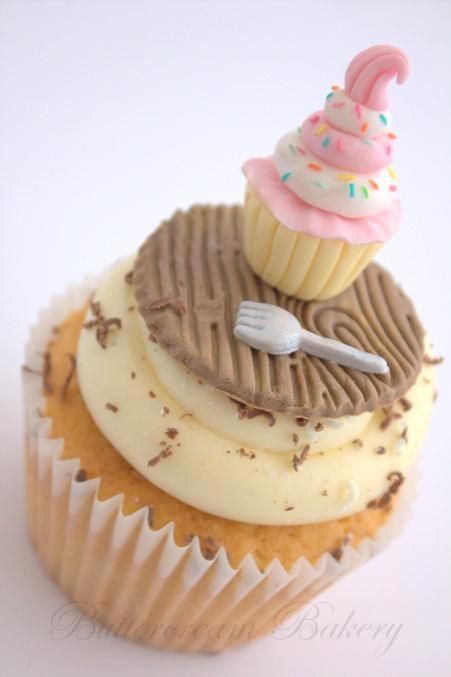
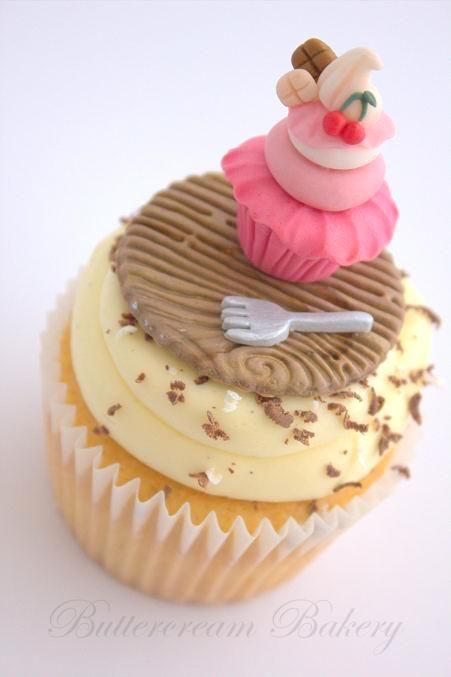
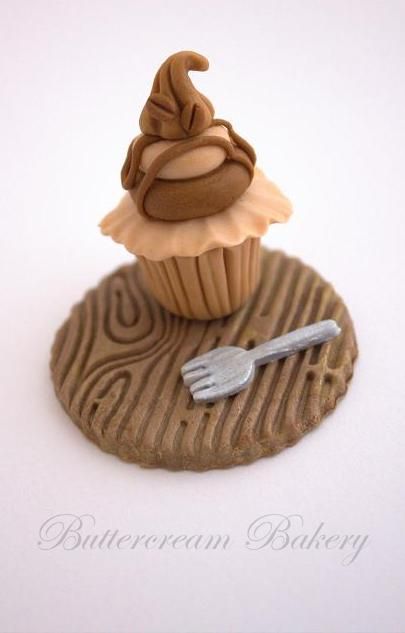
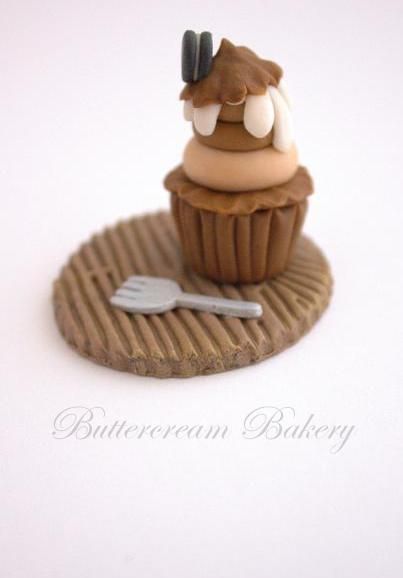
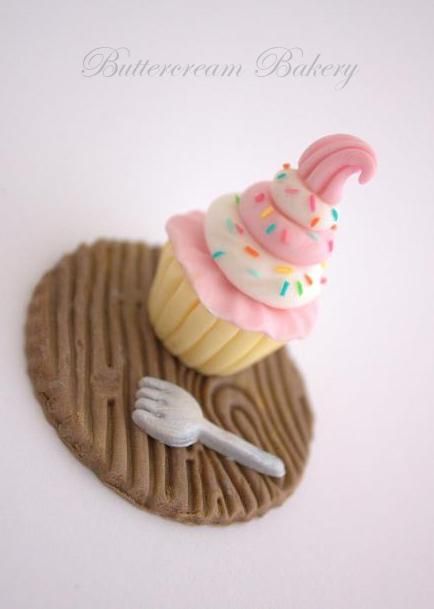
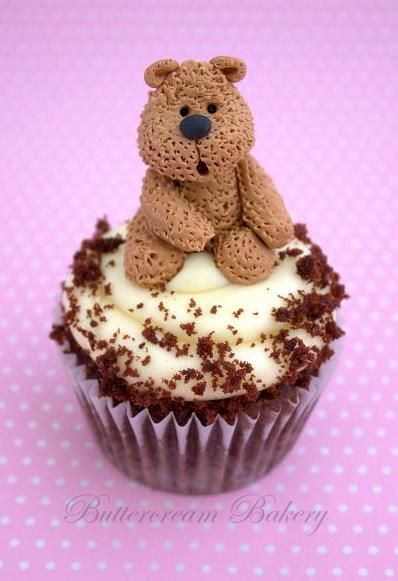
I am going to start with these adorable cupcake topped cupcakes.
How awesome are the little silver forks!!!
All the cupcakes (the fondant ones that is), are totally unique, some are topped with coloured sprinkles, others chocolate coffee beans and chocolate bars.
I particularly love the fondant cupcake above with a tiny little Oreo cookie on top.
I opted for a wooden effect for the bases and brushed them with a little gold lustre dust for added sheen.
I will definitely be listing these adorable cupcake toppers in our
Etsy store.
I have also added an online store to the Buttercream Bakery website.
I will be updating the store regularly with our new designs and characters.
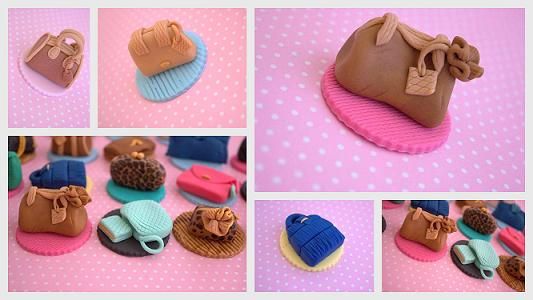
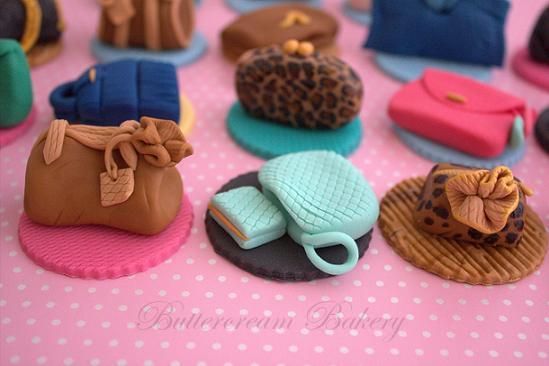
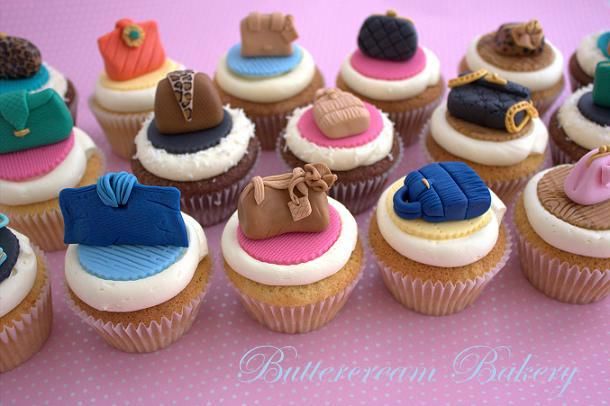
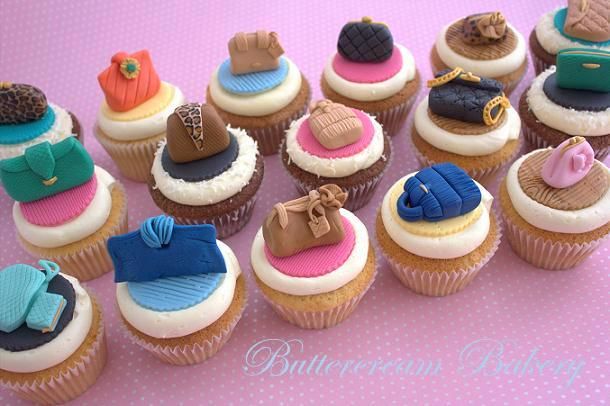
Next up in topper form and then proudly atop their cupcakes, we have a huge selection of fondant handbags.
I made 35 handbags in total, every single one was completely unique.
I used various techniques to texture the bags and hand painted the details, such as zips and clasps in gold or silver edible paint.
My sugarcraft table looked like a department store.
Can you believe this was my first ever handbag order! I've been dying to make some handbag cupcakes for ages so I was so pleased to get the chance and I honestly couldn't have asked for a lovelier client to make them for, her reaction to the cupcakes really made my day.
If only I had this many real life handbags!
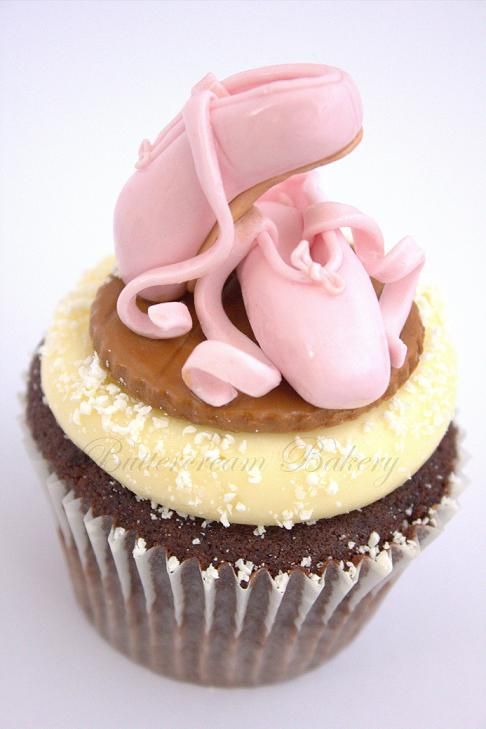
I thought I would get all the girly cupcakes out of the way in one go and follow our gorgeous handbag cupcakes with our pretty Ballet shoe cupcakes.
I love these ballet shoe cupcake toppers, the toppers will be available in our store and available to order in various colours.
I'm hoping to get the chance to make a pair of red satin ballet shoes one day soon.
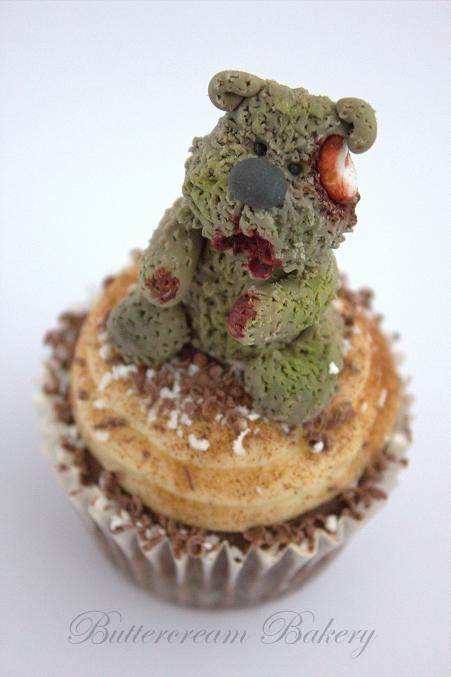
OK girly is over and the zombie bears are back.
I already posted the full set of zombie bears as toppers so I won't show you all of them again but I couldn't leave this guy out, he's my favourite.
'Grrrr brains....'
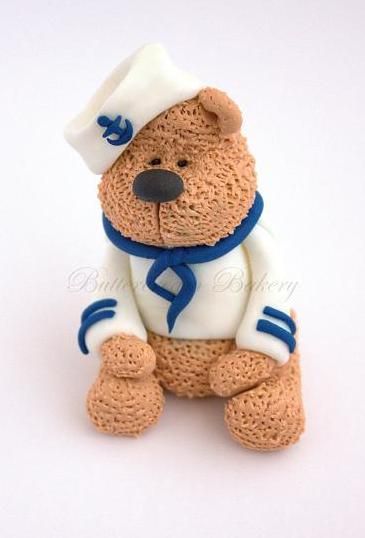
Hello Sailor!
You all know I love a bear with a job and this adorable not so little sailor bear is no exception. His little outfit is just too cute and yes, I know I shouldn't call it an outfit, it's a uniform and an oh so stylish one at that.
Next up 99 Cupcakes...
It way not be warm enough for a 99 ice cream but it's always the right climate for a cupcake version.
Our 99 Cupcakes feature a vanilla bean sponge cake topped with vanilla bean buttercream and lots of flaky chocolate.
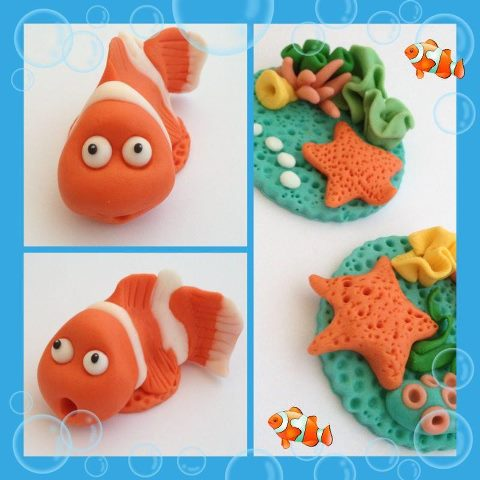
I made the adorable toppers below as part of a custom order.
I absolutely love the clown fish, especially the one with the little shocked face.
The accompanying toppers are what I call a sea-life topper, I love the bright colours and the textures really bring them to life.
I will leave it there for today, before you are all cupcaked out.
I have loads of posts planned for this week, including lots of new recipes that I know you will all love.
Until then...
Ted says 'Bye'!